A BEEDRILL FOREST

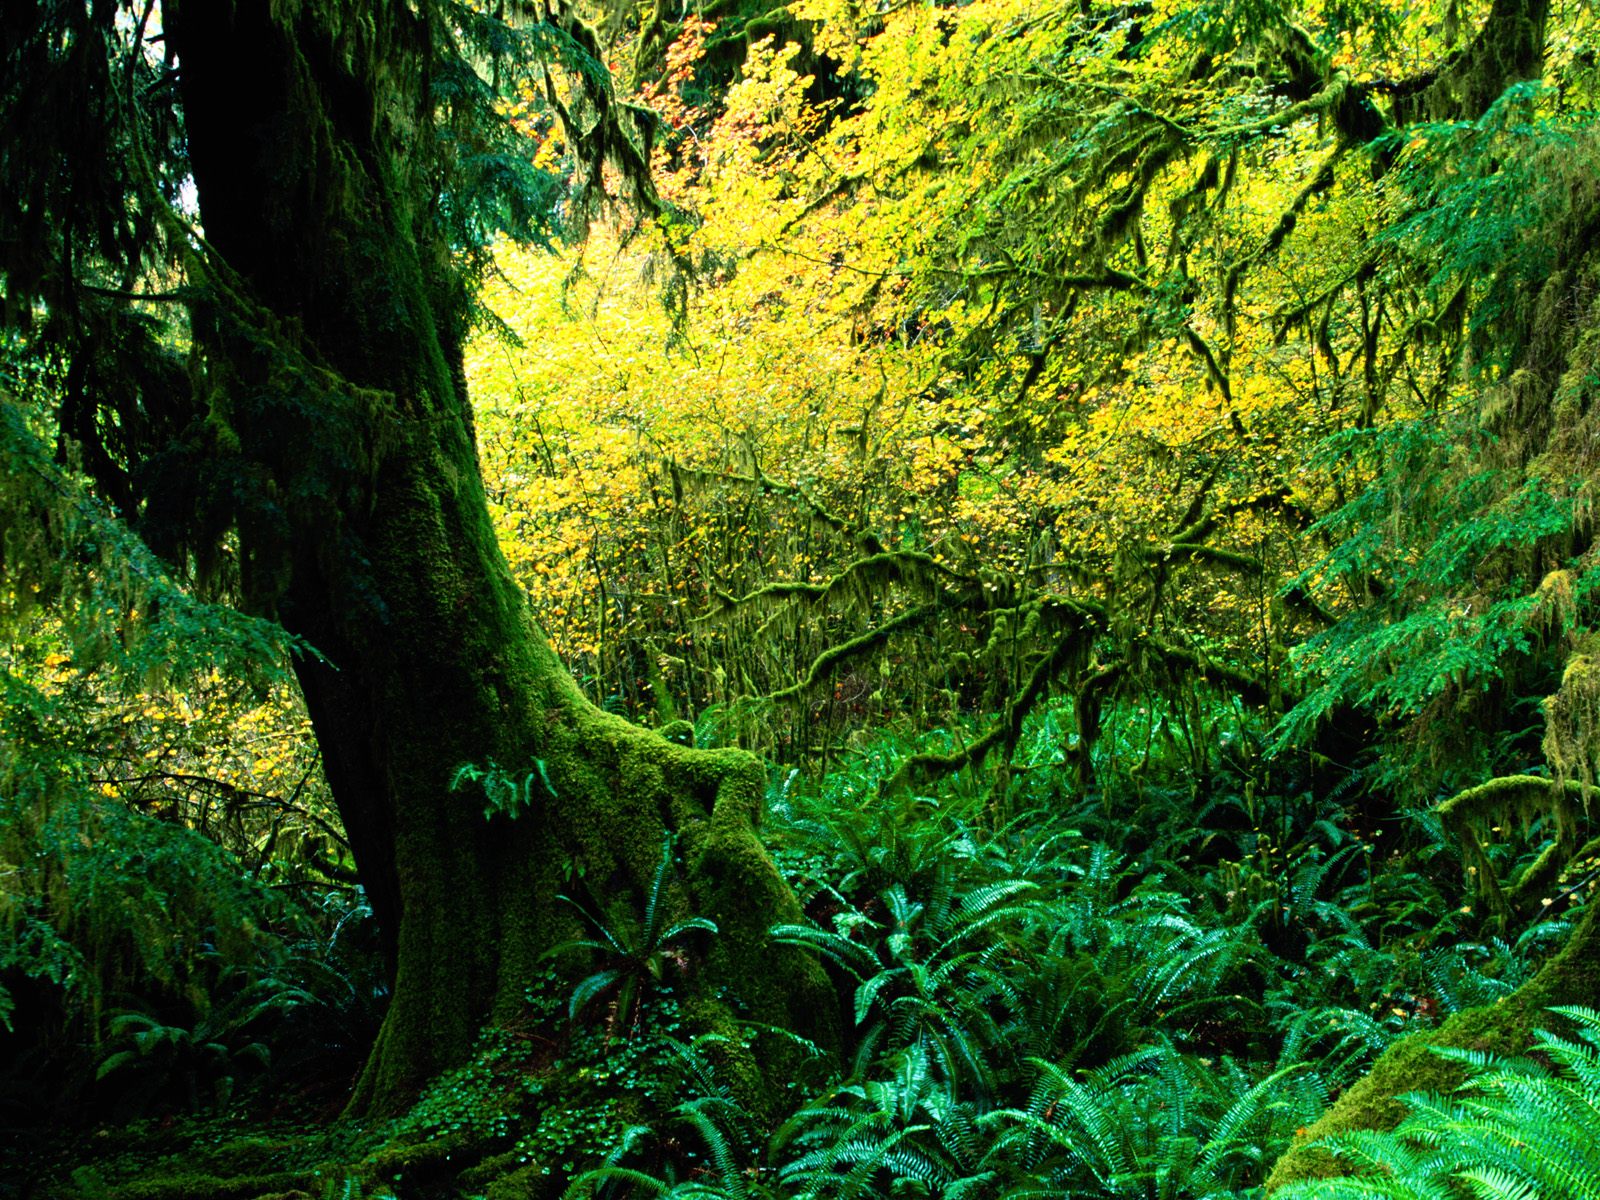
So as my first project I was very confused as to what I wanted to do, being that I'm sort of new to Photoshop. I got the idea of what I wanted to do from my little cousins because I was watching them the evening before I had to begin doing this assignment. What I first did was I went to googled and looked for a rain forest like background and came across this image:

Upon selecting the image for my background, I felt as if the brightness and levels had to be adjusted for what I wanted to do for this assignment. So i made minor changes and this was my result:

Now I needed an image to begin to create my imaginary forest, which is where my cousin's came into play. Being that they are huge Pokemon fans, I decided that one of the characters would work. I selected a character named Beedrill: http://www.deviantart.com/download/110816573/Beedrill_Front_by_fhoneill.jpg

After adding the image, I had to erase and clip out the character that I needed. Using the quick selection tool and the brush, I was able to eliminate what I wanted to. I then refined the edges and created a new layer with the layer mask. After that was done, the character was moved into the position I wanted.

For my next step, I turned off the layer with the original image so that it could no longer be seen. Now the colors had to be adjusted. So changes were made to the brightness, levels, and the channel mixer. Now to make sure that the color changes were only made to the character, and not the entire image, a clipping mask was made for each adjustment. This way only the figure was affected.

Now I needed more "Beedrill" to stay true to the name of my project. So luckily I was able to another image that was already cut out which made adding this one easier.http://th06.deviantart.net/fs25/300W/f/2008/041/5/c/Beedrill_by_QueensinRucks68.jpg
I added the second one and rotated it 90 degrees to look as if it were standing on the tree trunk.

I then made two more clipping masks and made adjustments to the brightness and the channel mixer.

It was then time to get the final Beedrill: http://www.nintendobuzz.com/wp-content/uploads/2010/12/Beedrill-Screen-Shot.jpg
...And then to add it

Once again, I had to use the quick selection tool, the brush, and the refine edge option to smooth it all out and create a new layer with a layer mask. Then again, I turned off the layer with the original image.

Now it was time to again make adjustments to the colors. Four clipping masks were created to make changes to the brightness, levels, color balance, and the channel mixer. As a result, the third character seemed "comfortable" in its environment.

I felt as if my project was incomplete, so I wanted to add a texture. I thought that broken glass is an interesting look and came across the following image: http://www.francescaamendolia.com/blog/wp-content/uploads/2011/01/broken-glass.jpg
So it was then added to my creation...

Now I only wanted the rainforest background affected by the texture and not the characters. So I selected the layer with the texture and dragged it down so it would sit above the "background" layer.

Now I had to blend the texture in. As my blending option I selected overlay and adjusted the opacity from 100% to 57%. This was the final result of my BeeDrill Forest!

Excellent Johnny!
ReplyDelete